GraphQL+React로 게시판 만들기 2편 - 환경 설정
Environment setting
지난 시간에는 GraphQL이 무엇인지에 대해 간략히 알아보았습니다. 잠깐 복습해보면, GraphQL은 REST API보다 간편하고 직관적으로 Data fetching을 할 수 있는 Query Language로서 다음과 같은 방식으로 사용합니다.
1.  `Schema`로 데이터 필드 작성
2.  `Schema`의 필드를 가져오는 `resolver` 작성
3.  `request`를 백엔드로 전달
만약 JavaScript를 사용하는 환경에서 GraphQL을 적용한다면, 아래와 같이 코드를 작성할 수 있습니다.
const { makeExecutableSchema } = require('graphql-tools');

const typeDefs = `
  type Query {
    books: [Book]
  }
  type Book {
    title: String
    author: String
  }
`;

const resolvers = {
  Query: {
    books: () => fetch('https://api.example.com/books')
  },
};

const schema = makeExecutableSchema({ typeDefs, resolvers });
이번 편에서는 본격적인 게시판 구현에 앞서, 개발 환경을 어떻게 세팅하는지에 대해 알아보겠습니다.
Apollo? 🤔
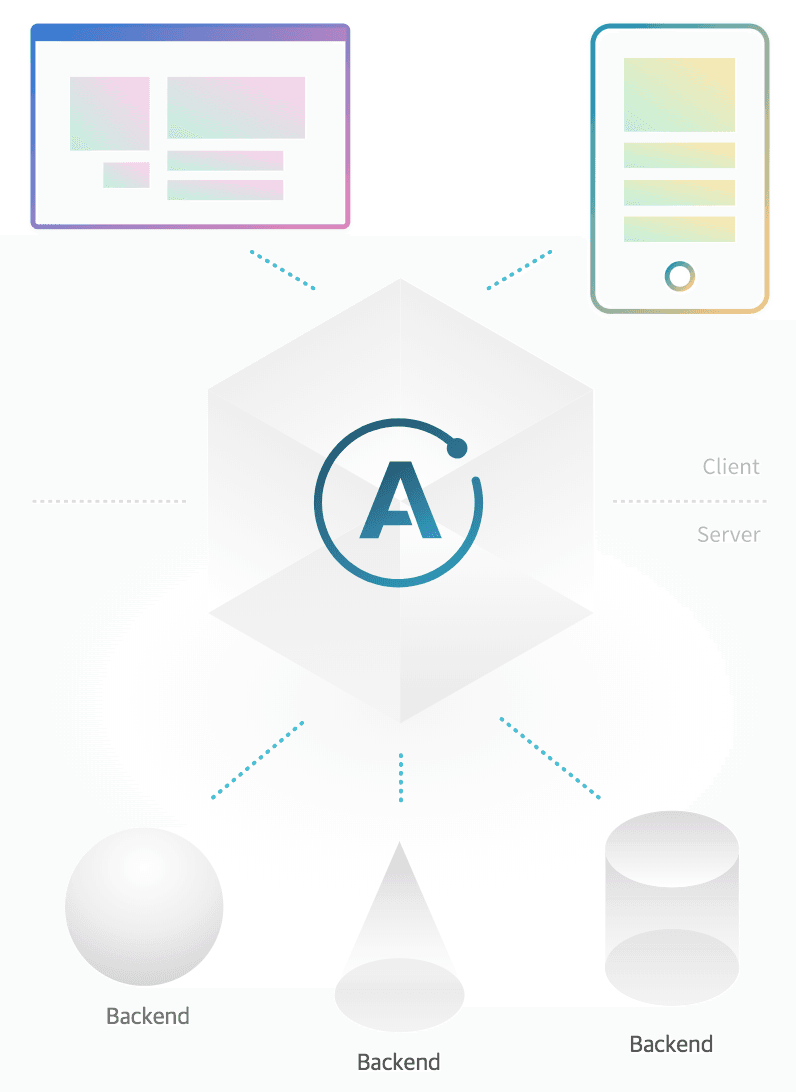
GraphQL은 REST API를 대체할만한 Query Language이자 새로운 API SPEC이기 때문에 이를 실제 클라이언트와 서버에 적용하려면 Relay나 Apollo 같은 GraphQL 구현체를 사용해야합니다. 본 시리즈에서는 비교적 러닝 커브가 낮은 Apollo를 사용하겠습니다.
Apollo는 기본적으로 프론트엔드 UI에 데이터를 연결하는 Apollo Client, 인프라 및 툴링을 위한 Apollo Engine, 백엔드를 GraphQL 스키마로 변환하는 Apollo Server 등으로 구성되는데 우리는 아래에서 설명할 Graphcool 덕분에 복잡한 서버 및 인프라 설정을 생략하고 주로 Apollo Client만을 활용할 것입니다.
Graphcool!! 🚀
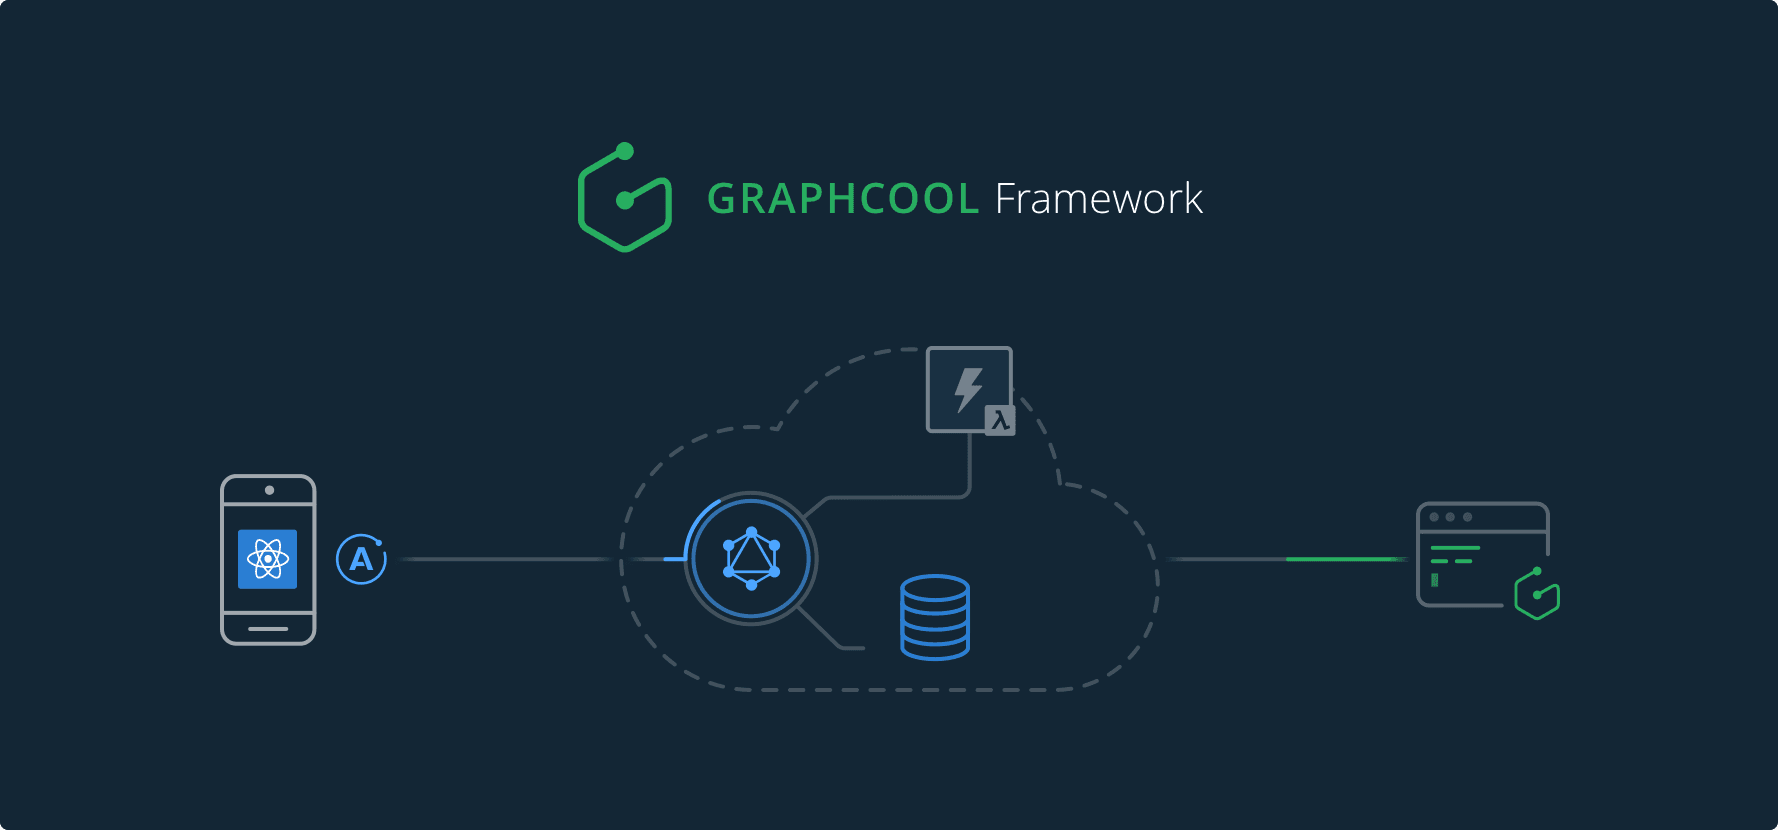
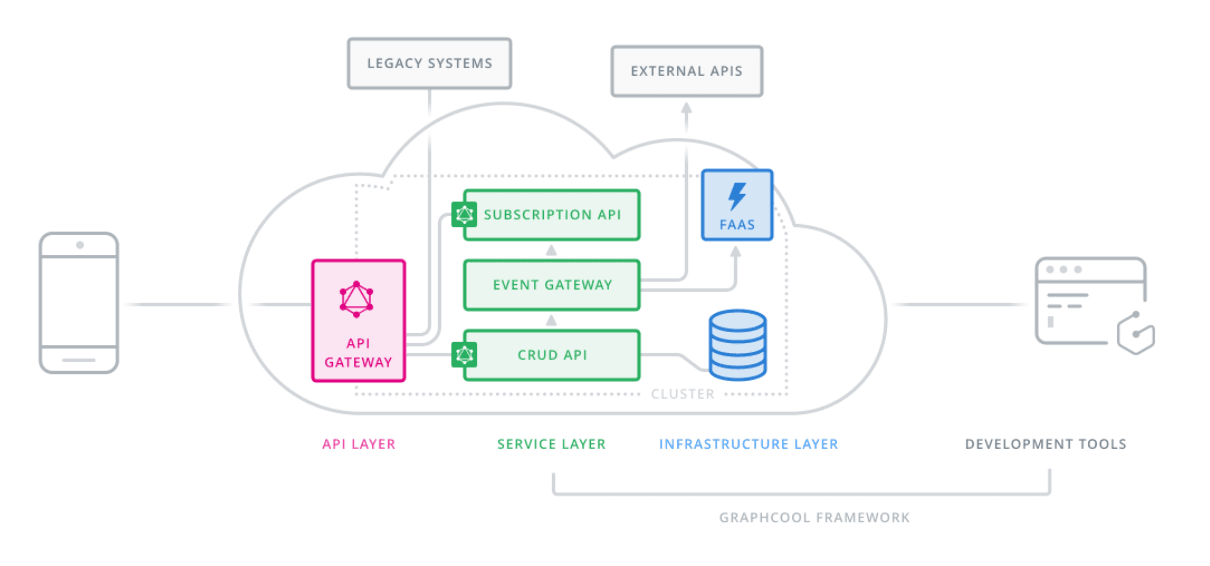
Graphcool은 GraphQL 서비스를 개발하기위한 백엔드 프레임워크입니다. Graphcool을 사용하면 데이터 모델을 쉽게 설계할 수 있는 GraphQL API를 온라인으로 몇 분 만에 만들 수 있습니다.
이 프레임워크는 클라우드 고유의 서버리스 기능과 통합되며 Apollo Server 와도 쉽게 호환되기 때문에, 본 시리즈에서는 express나 adonis 대신 Graphcool을 사용하겠습니다.

Graphcool은 Firebase와 같은 BaaS로 시작하였으나 현재는 백엔드 프레임워크로 전환되고 있으며, Graphcool Cloud를 통해 손쉽게 서비스를 배포할 수 있습니다.
Requirements 🔧
- Node.js >= 8.0
- Npm >= 3.0
Quickstart 📁
본 게시판 만들기 예제는 Email & Password Authentication template을 boilerplate로 활용합니다.
-
Boilerplate Download
curl https://codeload.github.com/graphcool-examples/react-graphql/tar.gz/master | tar -xz --strip=1 react-graphql-master/authentication-with-email-and-apollo cd authentication-with-email-and-apollo/server -
Create Graphcool service
npm install -g graphcool
yarn install
graphcool deploy
어떤 클러스터에 배포할 것인지 묻는 메시지가 나타나면 Shared Clusters 옵션 중 하나인 `shared-ap-northeast-1`를 선택하세요.
-
Connect the app with GraphQL API
우선, `./src/index.js`에서 `Simple API` endpoint를 복사합니다.
// replace `__SIMPLE_API_ENDPOINT__` with the endpoint from the previous step const httpLink = new createHttpLinkHttpLink({ uri: '__SIMPLE_API_ENDPOINT__' }) -
Install dependencies & run locally
루트 디렉토리로 돌아가서 dependencies 설치
cd ..
yarn install
yarn start
`http://localhost:3000`에서 확인 가능
패키지 설명
- apollo-cache-inmemory:
Apollo Client 2.0에 권장되는 캐시 구현.InMemoryCache는 Redux에 의존하지 않고Apollo Client 1.0의 모든 기능을 지원하는 정규화 된 데이터 저장소. - apollo-client:
React와 쉽게 통합되고 완벽한 캐싱 기능을 제공하는GraphQL클라이언트.GraphQL을 통해 가져오는 데이터를 UI component와 binding 가능. - apollo-link:
GraphQLrequest의 제어 흐름을 수정하고GraphQLresponse를 가져오는 표준 인터페이스. - apollo-link-http:
http fetch를 통해GraphQLend point에서 response를 가져오는 종료 링크. - graphql:
JavaScript용GraphQL레퍼런스 구현체 - graphql-tag:
GraphQLquery string을 표준GraphQL AST로 구문 분석하는JavaScript템플릿 리터럴 태그./loaderquery 전처리를 위한 웹팩 로더. - react:
JSX transformer필요없이 React에 즉각적으로 액세스 가능 - react-apollo:
GraphQL서버에서 데이터를 가져 와서React를 이용해 반응적인 UI를 구축하는 데 사용 가능. - react-dom: DOM 관련 렌더링 경로의 entry point로 사용
- react-router-dom: React Router를 위한 DOM binding에 사용
- tachyons: 인간을 위한 기능적인 CSS. 신속하게 새로운 UI를 제작하고 디자인 가능
마무리
이번 편에서는 Apollo와 Graphcool에 대해 간단히 알아보고 가벼운 Boilerplate를 사용해 손쉽게 개발 환경을 세팅해보았습니다. 다음 편에서는 Boilerplate 코드를 조금 수정하여 User account 모델과 Authentication을 개선해보도록 하겠습니다. 🙌