GraphQL+React로 게시판 만들기 3편 - Schema 설계
지난 글에서 Graphcool의 Email & Password Authentication template을 활용해 커맨드를 잘 따라치셨다면 브라우저에서 다음과 같은 화면이 덩그라니 보이실겁니다.
<뭔가 허전해보이는 로그인 창>
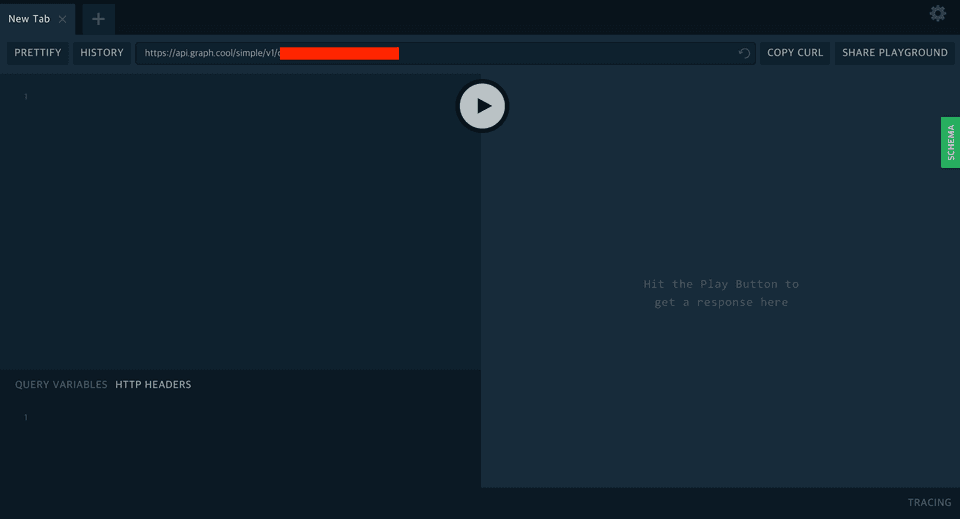
하지만 허전해보이는 이 boilerplate에는 생각보다 많은 것이 구현되어 있습니다. (저도 놀랐네요…😲) 어떤 것들이 구현되어있는지 확인해보기 위해 https://console.graph.cool/server/playground로 접속해서 playground를 실행해봅시다. 그러면 아래와 같은 멋진
interactive in-browser GraphQL IDE가 뜨게 됩니다.
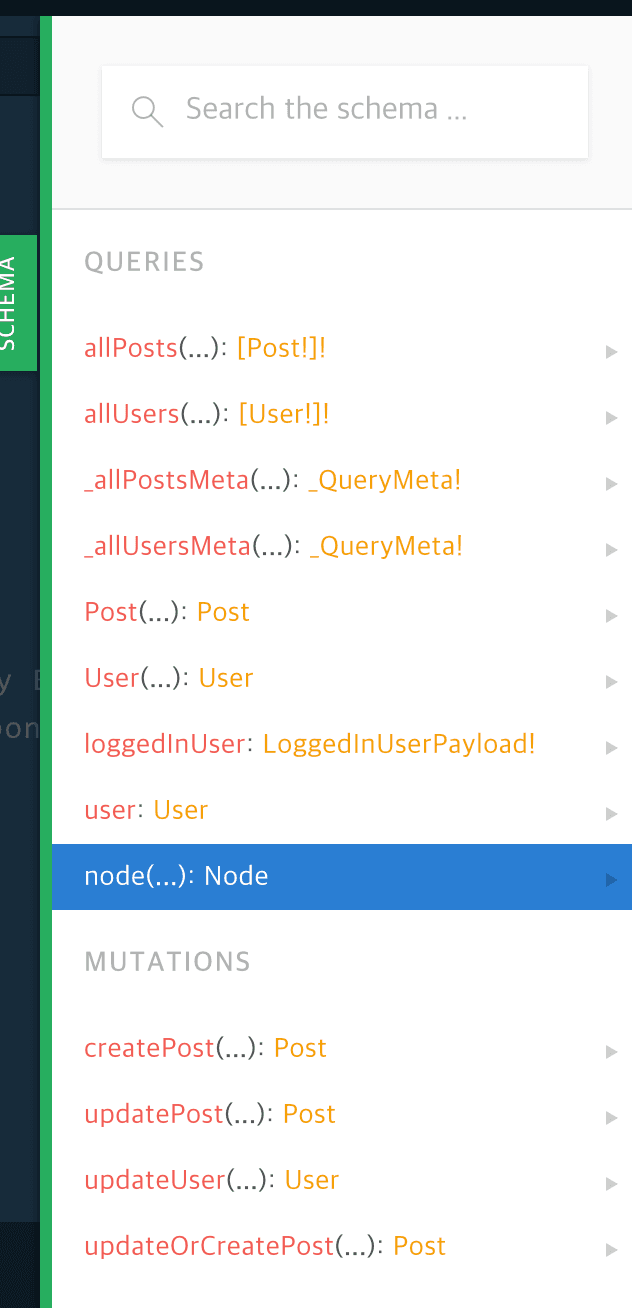
오른쪽에 초록색 Schema 버튼을 눌러보면…
와아우!!🎊🎉 다 합쳐서 약 스무개의 Query와 Mutation, Subscription이 이미 구현되어 있습니다ㅋㅋ (사실 API 설계 과정을 차근차근 보여드리고 싶었는데 boilerplate 코드가 꽤나 괜찮아서 이 코드를 수정 보완하는 방식으로 진행하겠습니다.)
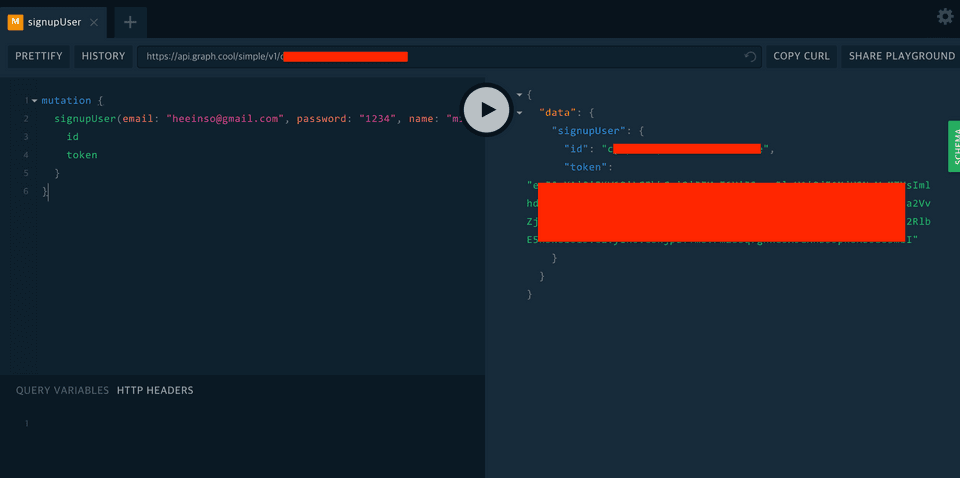
대충 User 관련 API가 어떻게 돌아가는지 보자면 다음과 같습니다.
- signupUser Mutation에서 email과 password, name을 인자로 받아 실행하면 회원가입이 이뤄짐
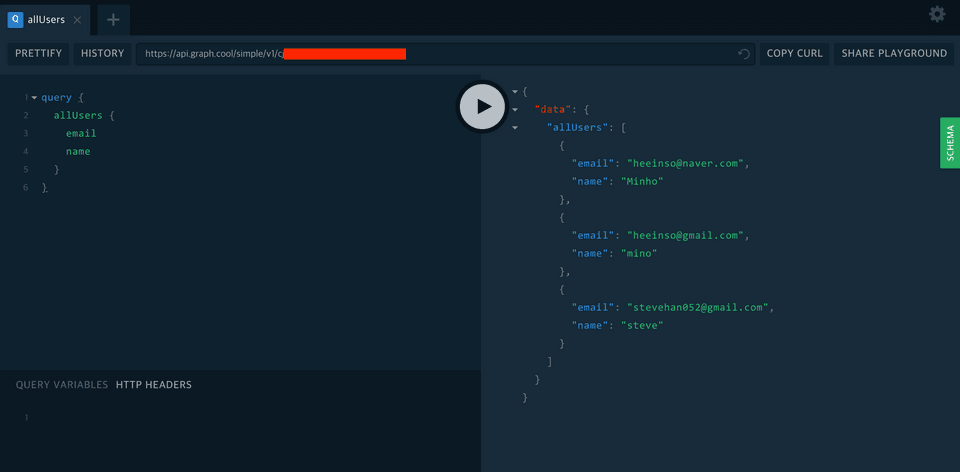
- 이를 조회하기위해 allUsers Query를 실행하면 원하는 field들(email이나 name)을 확인 가능
위 스크린샷처럼 Mutation으로 마구마구 User들을 만들어보고 잘 생성되었는지 Query를 확인해보세요! API가 잘 돌아가는 것 같다면, 이제는 playground가 아닌 http://localhost:3000에서 실제로 Login 버튼을 눌러보면…!!
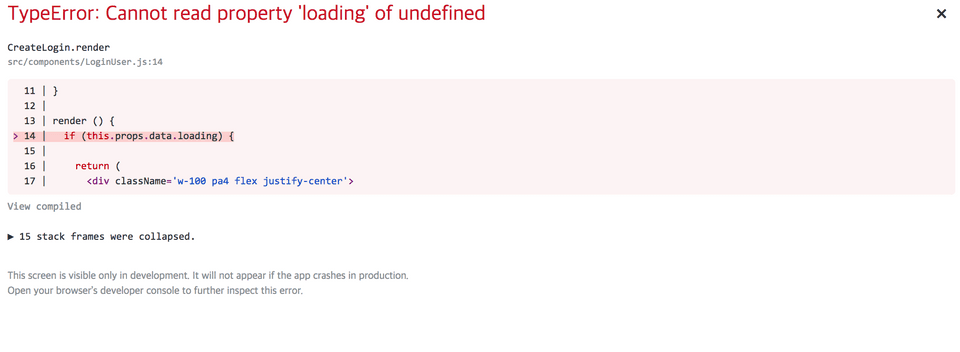
<갑자기 분위기 싸해지는거임...>
이럴땐 당황하지 마시고 에러 메시지를 잘 읽어봅시다. 아하~ props.data가 undefined인데 그 property를 조회하니 타입 에러가 뜨는 것 같네요.
그럼 src/components/LoginUser.js에 들어가 아래와 같이 코드를 수정해줍시다.
class CreateLogin extends React.Component {

  state = {
    email: '',
    password: '',
  }

  render () {
    // this.props.data가 있는지 체크하고 loading 프로퍼티 확인
    if (this.props.data && this.props.data.loading) {

      return (
        <div className='w-100 pa4 flex justify-center'>
          <div>Loading</div>
        </div>
      )
    }

    // this.props.data가 있는지 체크하고 loggedInUser 프로퍼티 확인
    if (this.props.data && this.props.data.loggedInUser.id) {
      console.warn('already logged in')
      this.props.history.replace('/')
    }
    // ...하략
그러면 이제 playground에서 만들었던 email과 password로 로그인이 잘되는 것을 확인할 수 있습니다!!
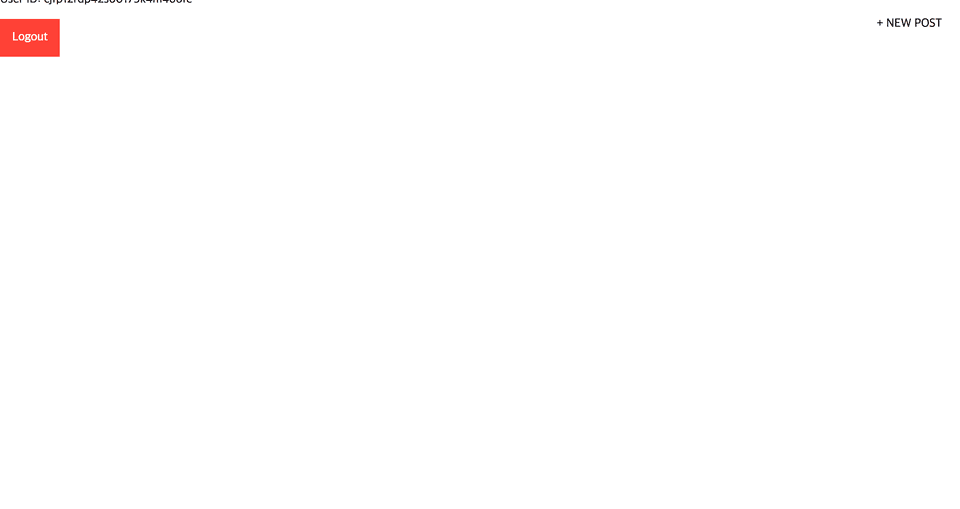
<역시 뭔가 허전해보이는 로그인 후 화면>
boilerplate 덕분에 회원가입과 로그인은 잘되는데…우리가 생각하던 게시판이 아니라 인스타그램처럼 Image와 Description만 작성하고 볼 수 있는 상황입니다. 그럼 아까와 마찬가지로 GraphQL API를 먼저 작성하고 클라이언트에서 UI를 새로 고쳐주면 될 것 같습니다.
-
server/types.graphql
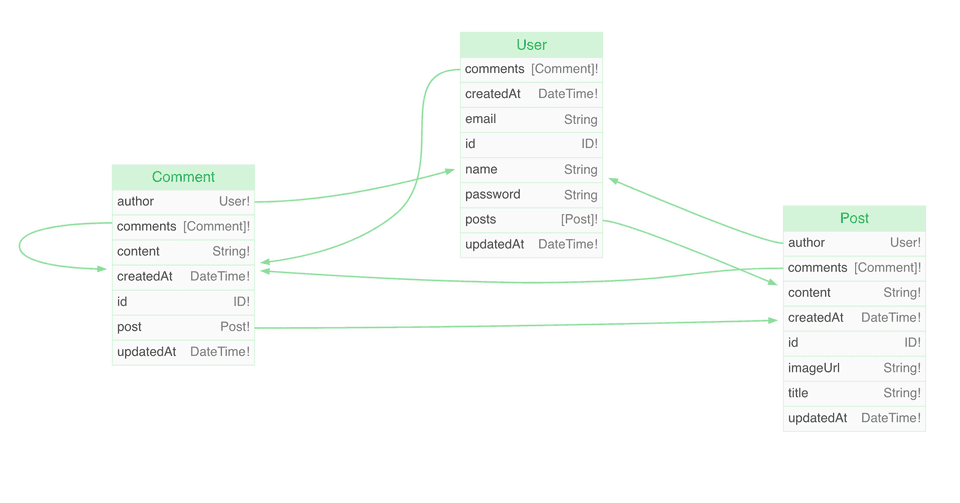
type User @model { id: ID! @isUnique createdAt: DateTime! updatedAt: DateTime! name: String email: String! @isUnique password: String posts: [Post!]! @relation(name: "UserPosts") comments: [Comment!]! @relation(name: "UserComments") }type Post @model { id: ID! @isUnique createdAt: DateTime! updatedAt: DateTime! title: String! content: String! imageUrl: String! author: User! @relation(name: "UserPosts") comments: [Comment!]! @relation(name: "PostComments") }type Comment @model { id: ID! @isUnique createdAt: DateTime! updatedAt: DateTime! content: String! author: User! @relation(name: "UserComments") post: Post! @relation(name: "PostComments") comments: [Comment!]! @relation(name: "CommentComments") }
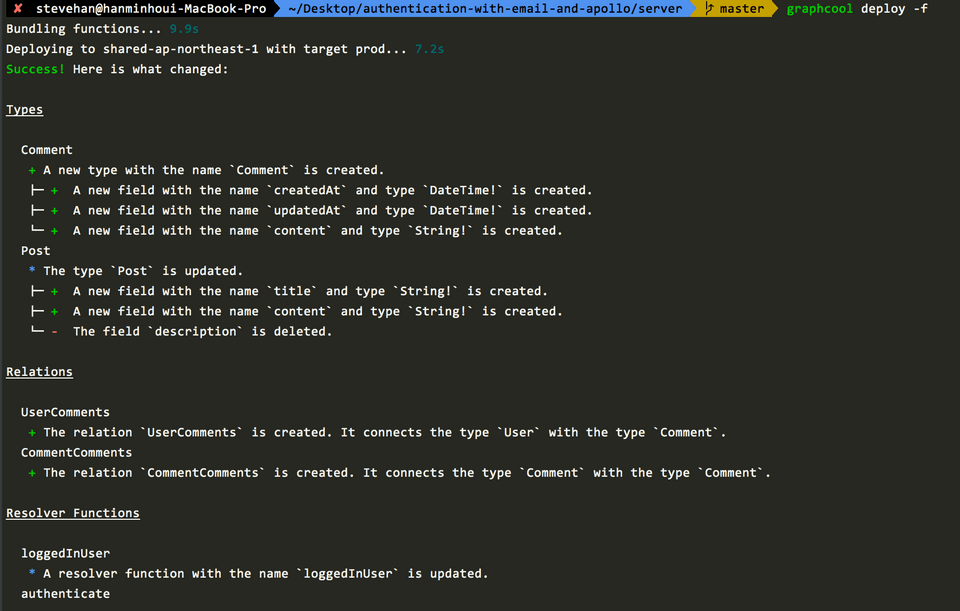
위와 같이 Post Schema의 field를 수정하고 Comment Schema를 새롭게 설계했으면 이제 migration을 해줘야 합니다!
graphcool deploy -f
Success..!
Graphcool console에서 확인 가능
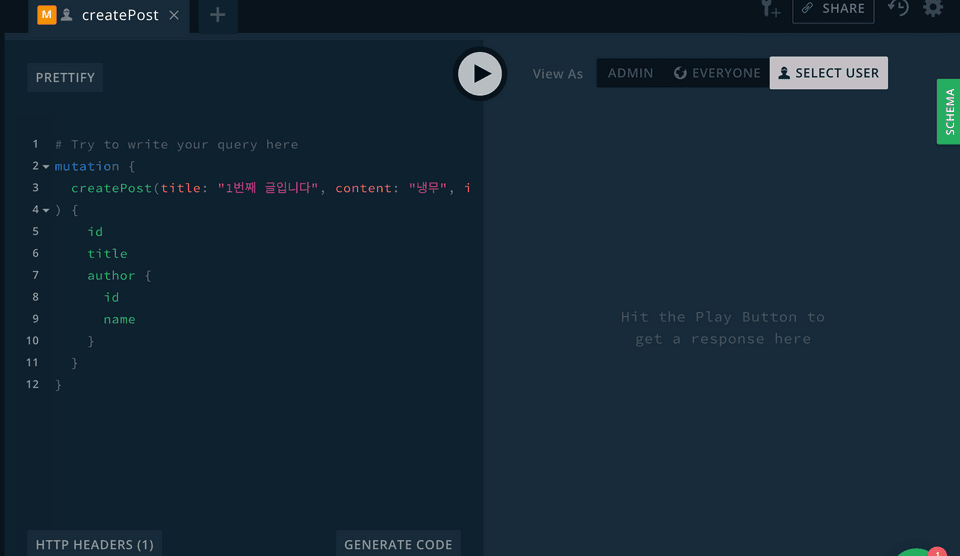
이제 다시 playground로 돌아가서 User를 마구마구 만들어봤던 것처럼 Post와 Comment도 잘 만들어지는지 확인해봅시다.
Select User 버튼을 누르고
<만들어 놓았던 User 중 하나를 선택하면...>
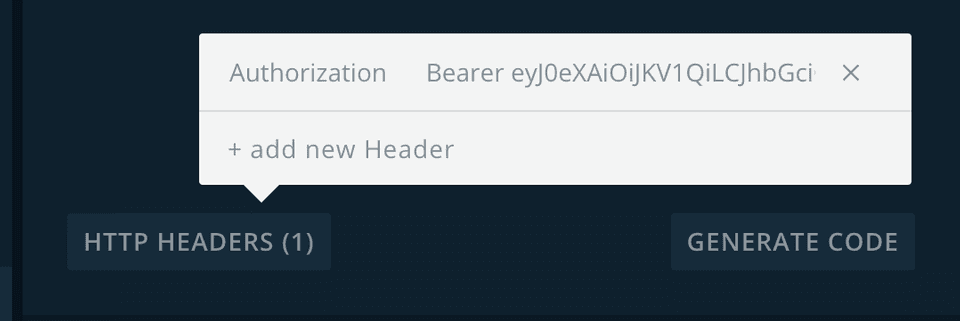
HTTP HEADER에 Bearer Token이 붙습니다!
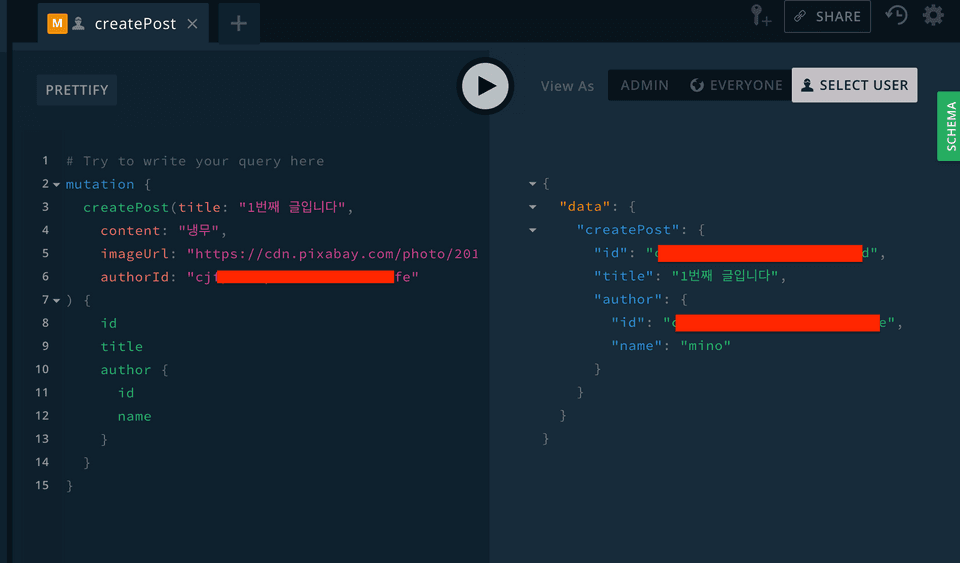
createPost mutation으로 Post를 생성해보고
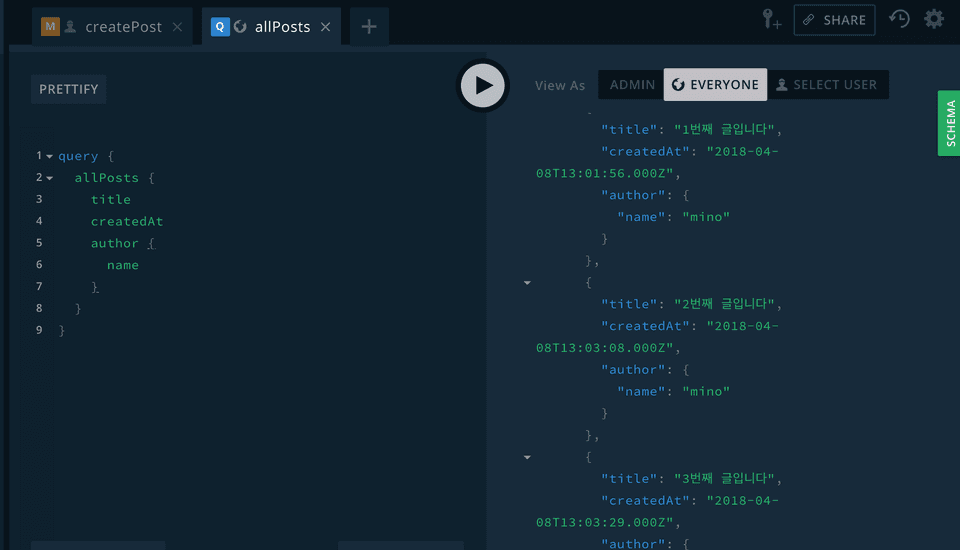
allPosts Query로 조회해보면 잘 되는 걸 확인!!
Graphcool의 magic 덕분에 아주 손쉽게 Schema를 설계하고 테스트해 볼 수 있었습니다. 물론 쓸만한 게시판을 만들기 위해서는 보다 정교한 Schema 설계가 필요하겠지만 본 시리즈의 목적은 GraphQL을 알아보는 것이기 때문에 게시판의 퀄리티보다는 빠른 생산성에 주목해주시면 좋겠습니다.🙇
오늘은 User와 Post 그리고 Comment 모델을 만들고 Graphcool playground에서 생성, 조회를 해보았습니다. 다음 편에서는 본격적으로 게시판 CRUD를 해보고 이를 보기 좋게 React Component로 만들어 보도록 하겠습니다!🙋
